In this section, we would test the microservices again with the new configuration.
> curl -i https://apis.navveenbalani.dev/fetchWebsite?key=AIzaSyC0m7d4cc-jOwJ
You should see the message “ok’ being printed on the console.
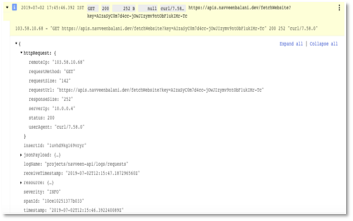
Next, go to Cloud Console -> Network Security -> Cloud Armor and click on the kube-armor-security-policy. On the kube-armor-security-policy page, click Logs to view the request logs. You can inspect each incoming request (headers, message, ip address etc.) in detail by inspecting the logs.
Figure 32: Cloud Armor Logs
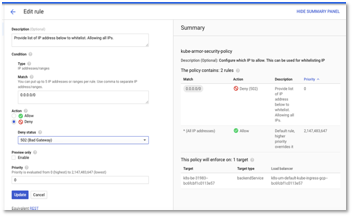
To test out IP whitelisting, modify the existing Kube-armor-security-policy
Policy. Click on Edit rule and select deny instead of allow as shown below. Then, click update.
Figure 33: Cloud Armor -> Policy Details – > Deny All
Wait for a few minutes for changes to be effective.
Next, execute the fetchWebsite service.
> curl -i https://apis.navveenbalani.dev/fetchWebsite?key=AIzaSyC0m7d4cc-jOwJ
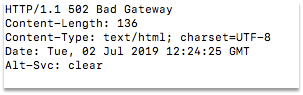
You should see 502 Bad Gateway as a response as shown below.
Figure 34: Bad Gateway error
With this, we have tested IP whitelisting. Change the configuration back to allow all IP Addresses